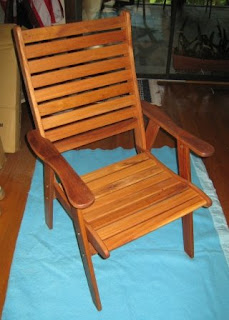
 Now you are almost done!
You have three big chunks: a seat-back combo, an armrest-legs combo, and an armrest-legs-crossbeams combo. (See the previous three posts for pictures.)
Lay the seat-back combo sideways and place the armrest-legs-crossbeams combo on top of it in the correct position. If it doesn't seem to fit, you might have to flip the seat-back piece around to the other side. You can see in the picture that this is looking very much like a chair!
You should have eight fasteners left: four short bolts, two long bolts, and two fasteners for the crossbeams. Use two of the short bolts to attach the legs to the seat of the chair. The bolts go all the way through the seat edge and the chair legs. Use one of the long bolts to attach the top of the armrest to the chair back. Use allen wrenches to tighten. Both parts of all these fasteners can be gripped with the allen keys, so it is easy to make them tight.
All that is left is to flip the chair on its other side. The remaining armrest-legs combo can be fit into place. This one will need to be bolted at five spots not three -- remember, you'll need to do the crossbeams as well as the chair seat and back.
 Ta-da! By myself, I could put a chair together in 15-20 minutes, less when I had help holding things in place.
The directions do remind you to tighten everything periodically, so do put those allen keys someplace where you can find them again and with a label to remind you what they go to. The furniture store people also recommend treating this furniture with wood oil to keep the nice warm orange-brown color. The table is nothing complicated when compared to the chairs, so I won't bother to blog about that. I would recommend, however, that you have a friend help with the table, as it is very big and heavy and not a one-person job. And although the assembly instructions were a pain, the furniture itself seems very solid and sturdy.
Comments